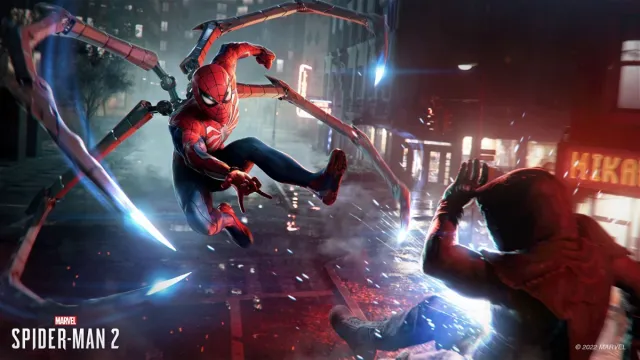
Marvel’s Spider-Man 2 is a true flex of the PS5’s power, offering features like instant fast travel and near-instant swapping between heroes.
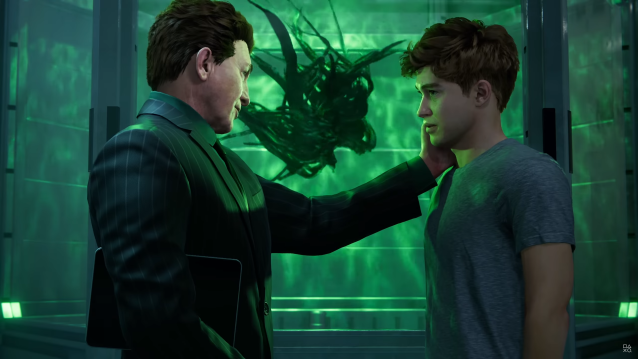
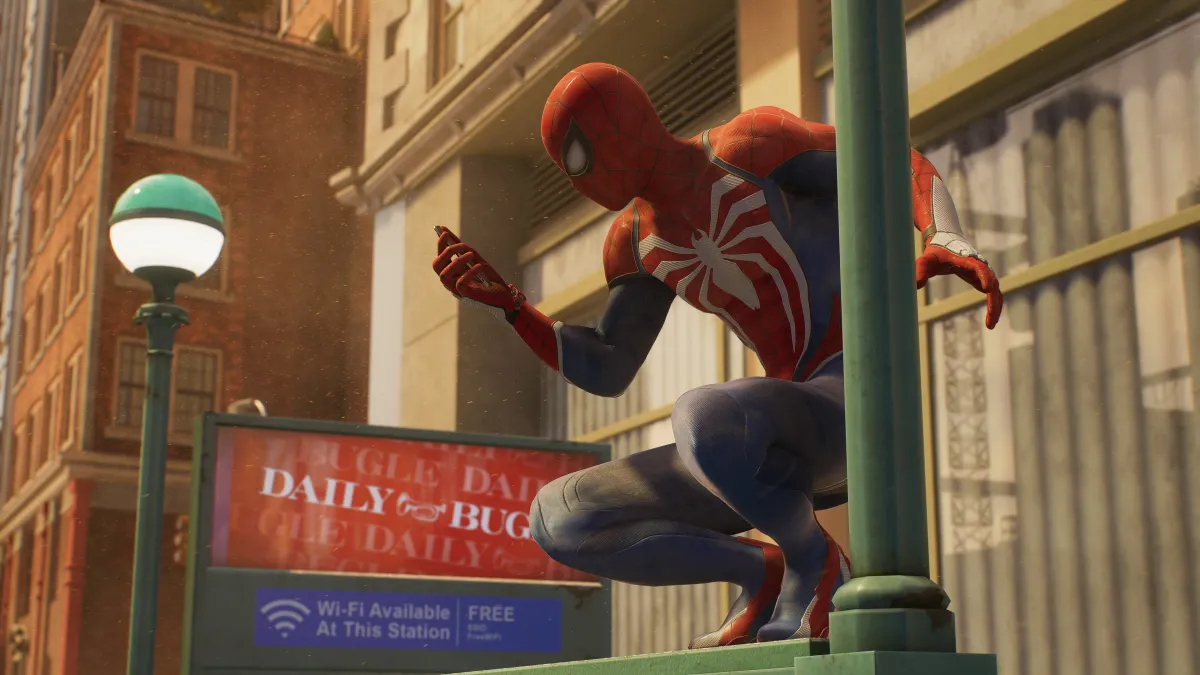
But the game is also just truly beautiful to look at. The character models, environments, and special effects of a city under the grips of villains are something to behold. To make it even nicer, you can head into the game’s settings to maximize how it looks on your own personal setup and display.
Here’s the most efficient way to set up the best Spider-Man 2 graphics settings.
Best Spider-Man 2 graphics settings on PS5

Graphics
- Graphics Mode: Performance
In Marvel’s Spider-Man 2, Performance mode targets 60 frames per second. This will give you the smoothest experience, and a smoother framerate is most important when it comes to action games. The boost you get in resolution with the other modes isn’t worth the trade-off in frames.
- VRR: Smoothed or Off
The VRR setting comes down to whether or not your TV or monitor has it. You can find out by going into the PS5’s Settings, then Screen and Video, Video Output, and VRR.
- 120 HZ Display Mode: Auto
- HDR: On
- Brightness: 55
- Contrast: 50
Brightness and Contrast both come down to personal preference, but feel free to turn Contrast up if you want the colors of Marvel’s Manhattan to pop a bit more.
- Fullscreen Effects: On
Another personal choice, this can easily be toggled off so fullscreen effects like damage intensity, flashing, and other effects that take up the entire screen will be removed.
- Center Dot: Off
Screen Effects
- Motion Blur: Off
Seriously, who likes this setting? In this game, though, it does add a bit of an effect while swinging or gliding through the city, so feel free to try turning it on and see if you like it. I can’t stand it, personally.
- Film Grain: 5
- Chromatic Aberration: On
- Depth of Field: On
Depth of Field provides some real immersion in games as it will create a blurred effect for objects that are far away or out of focus of the current camera.
High Contrast Options

These options help in a big way for those who are visually impaired. I like to keep these settings default.
You can change the colors of each individual shader for your own preference. For the colorblind, this is an awesome accessibility feature to help those who may not be able to see a certain color.
- Hero Shader: Default
- Ally Shader: Default
- NPC Shader: Default
- Enemy Shader: Default
- Basic Enemy Shader: Default
- Ranged Enemy Shader: Default
- Advanced Enemy Shader: Default
- Menace Enemy Shader: Default
- Boss Shader: Default
- Story Critical Shader: Default
- Combat Interactable Shader: Default
- Collectible Shader: Default
- High Contrast Background: Off
- High Contrast Spider-Sense: Default
- High Contrast Perfect Dodge: Default

