There are an infinite of community-made add-ons that players can install to customize the Football Manager 24 to their liking. One aspect that players can modify is the skin, but the game doesn’t actually teach you how to install skins in FM24.
The path to install skins in FM24 is the same as in previous FM games, but since the game has a lot of newcomers nowadays thanks to Xbox Game Pass, we’ll teach you exactly how to install and play FM24 with a skin made by the community, in case you grow tired of the default skin.
What is a skin in Football Manager 24?
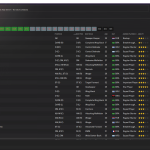
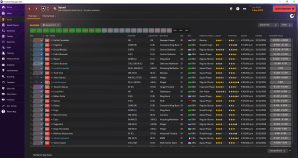
The skin is responsible for the interface of FM24. Each skin has its own colors and templates, generally speaking, they modify the original design of the game. You can see the difference between FM24‘s default skin and the Material Skin, which is a custom one.


Where to find new skins for Football Manager 24?
New skins for FM24 can be found across plenty of community forums and dedicated websites like Sortitoutsi and FMScout. I’ve been playing the FM series since the first version in 2006 and assure you these are two of the best websites to find add-ons.
Over the past few years, I’ve fallen in love with darker skins as they allow me to stay on the PC for more time. The Priisek Retro 24 skin fulfills that purpose really well, in my opinion.
How to install skins in Football Manager 24?
After you have downloaded the FM24 skin of your preference, simply follow the steps below to install it.
- If the skin you downloaded is compressed—the file ends in .rar, .zip, or .7z—you’ll need to extract it with software like WinRar or 7z.
- After the extraction is completed, you’ll be left with a single folder containing the skin files.
- Copy the skin folder and paste it on the following path Users\username\Documents\Sports Interactive\Football Manager 2024\skins
- Launch FM24.
- Click “Preferences” and then click the “Advanced” tab on the left.
- Select “Interface” from the drop-down menu on the right-hand side.
- Change it to the skin you have downloaded. In my case, it’s the Material Skin.
- Check the “Reload skin when confirming changes in preferences” box and uncheck the “Use caching to decrease page loading times” box.
- Click “Confirm” at the bottom of the page.
With all that done, you’ve now given your FM24 its own unique look, so jump into a match and guide your team to victory.

